Working of Word Recovery Tool – Step by Step
STEP 1
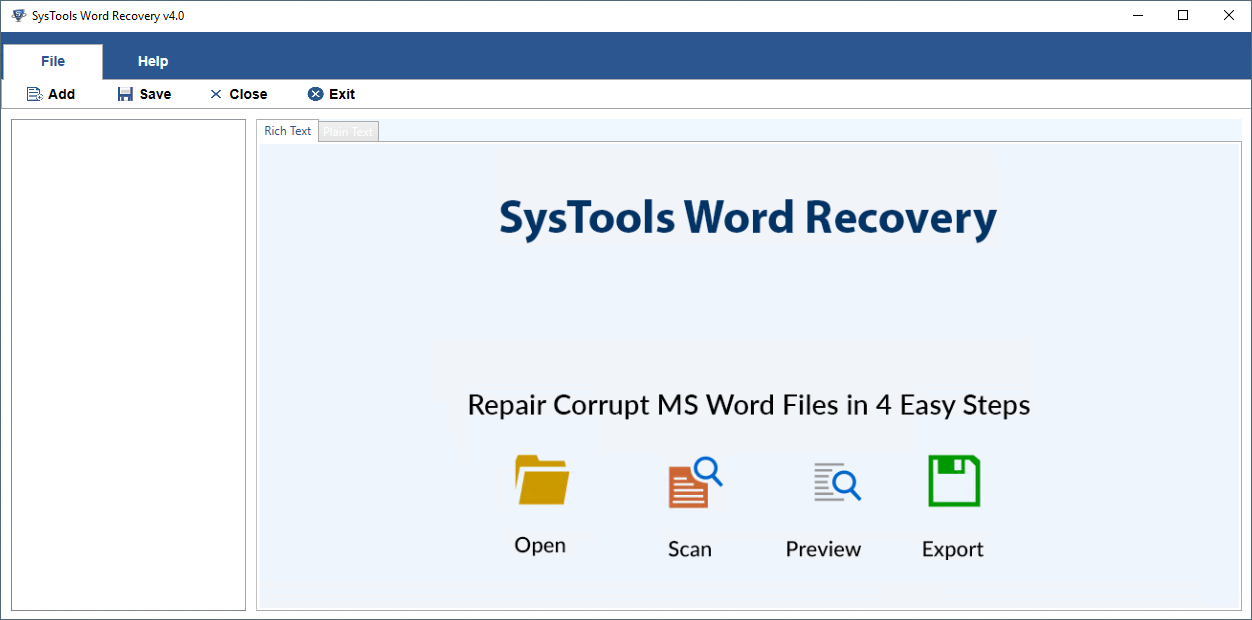
Launch Word Recovery Tool and go to start menu >> All programs >> Word Recovery Tool. Now Open it.
STEP 2
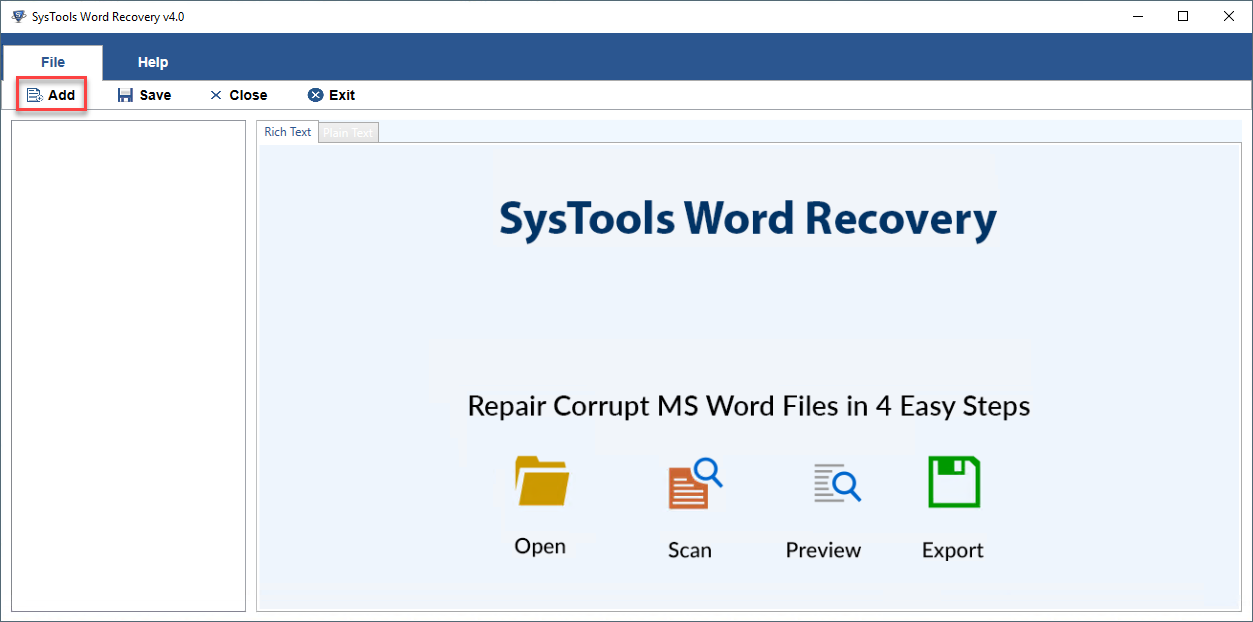
Now click to “Add” , choose one option to add DOCX file:
- Add File(s) : In this, browse files to add single as well as multiple DOCX files at once.
- Add Folder : Here, add one or more folders consists of multiple files.
- Search File(s): This option allows users to browse files within the drives(such as C: \, D: \, E: \) from the system.
STEP 3: 3 Recovery Modes
STEP 3
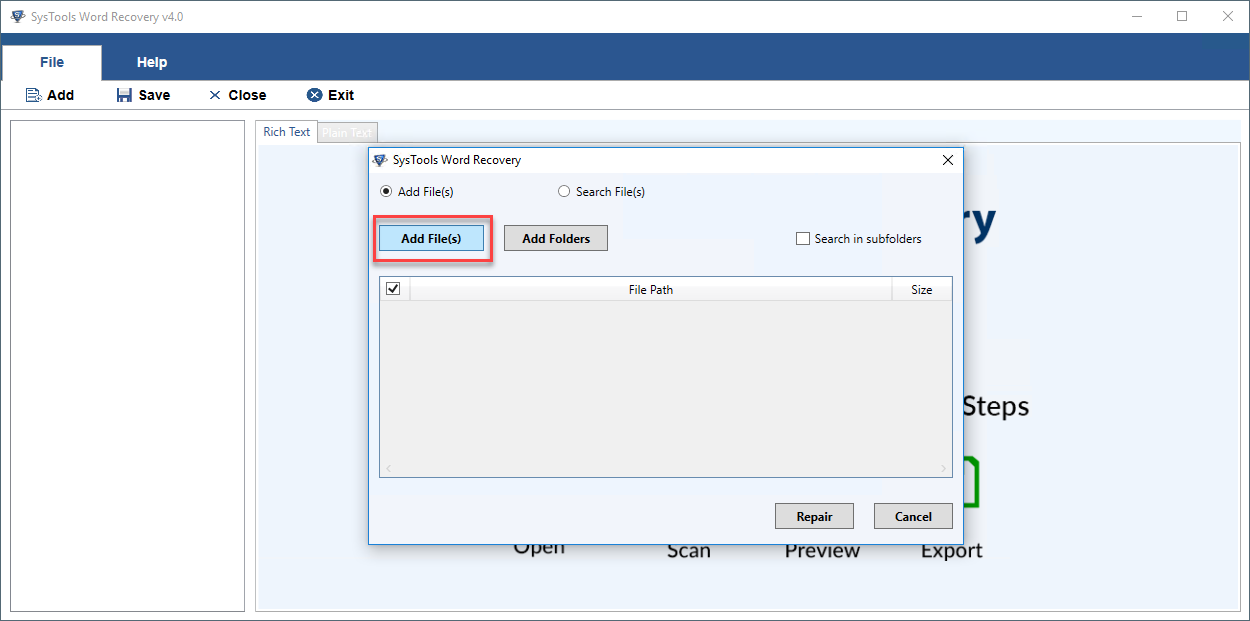
- Select “Add File(s)” in above check-box, then click to “Add File(s)” button.
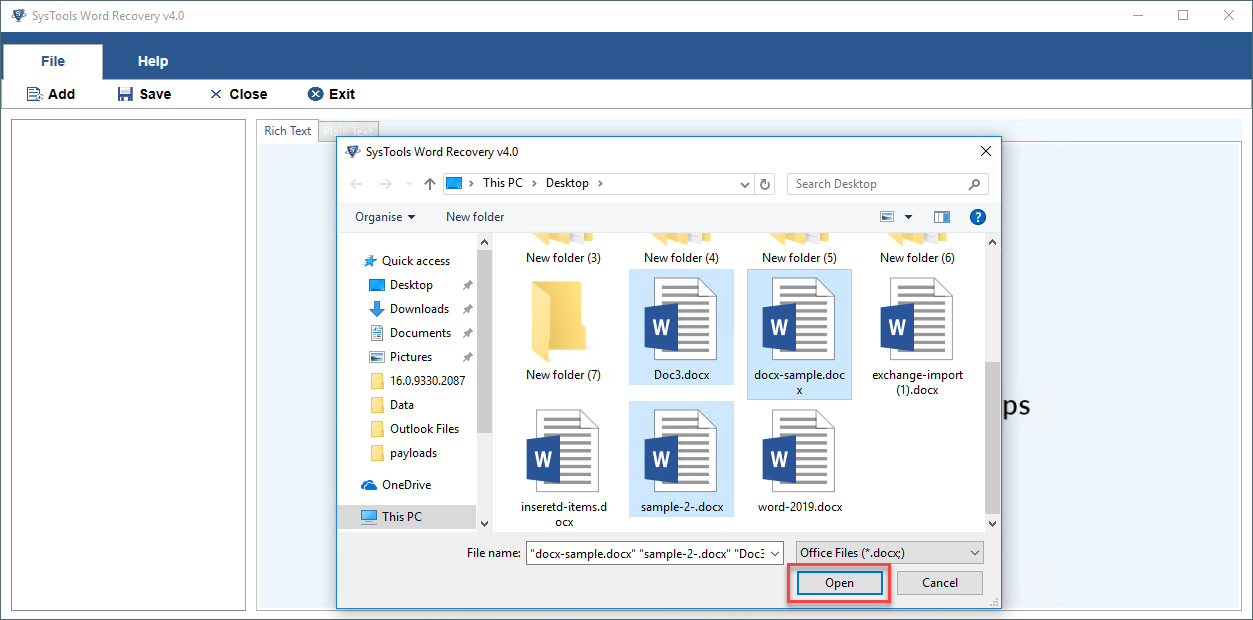
STEP 4
- Here a window will be displayed, select the desired files to add and repair. Then click to “Open” .
STEP 3
- Here, choose “Add Folder” button.
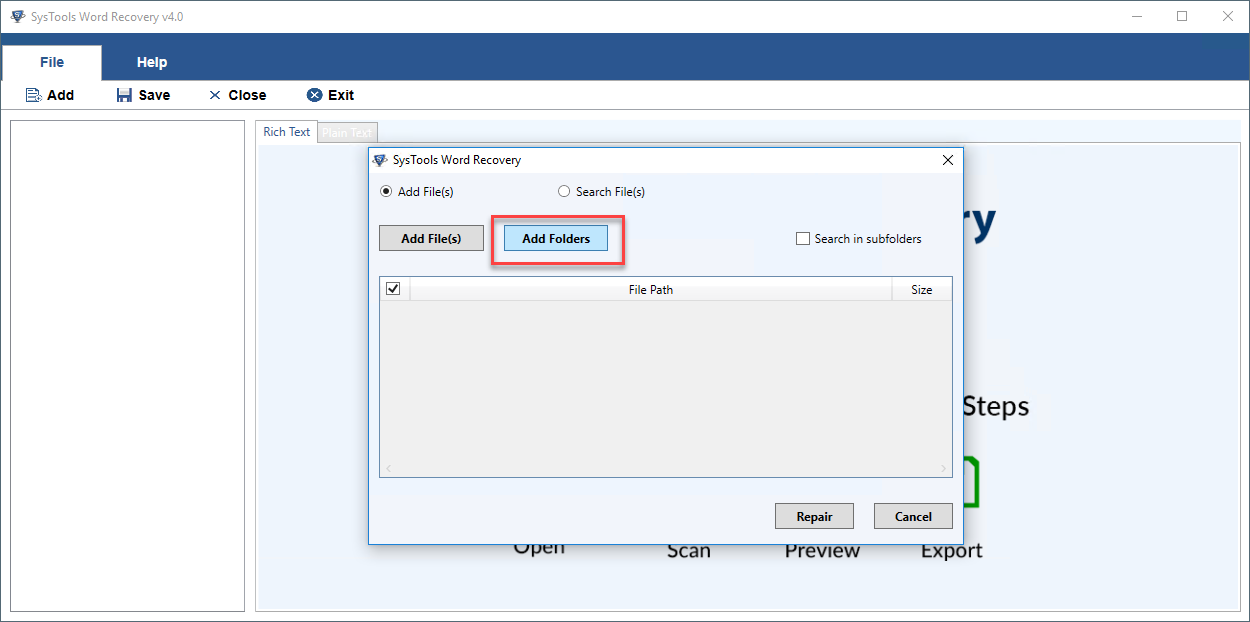
STEP 4
- Now browse the DOCX Files from your system to repair and add them. Click “OK” .

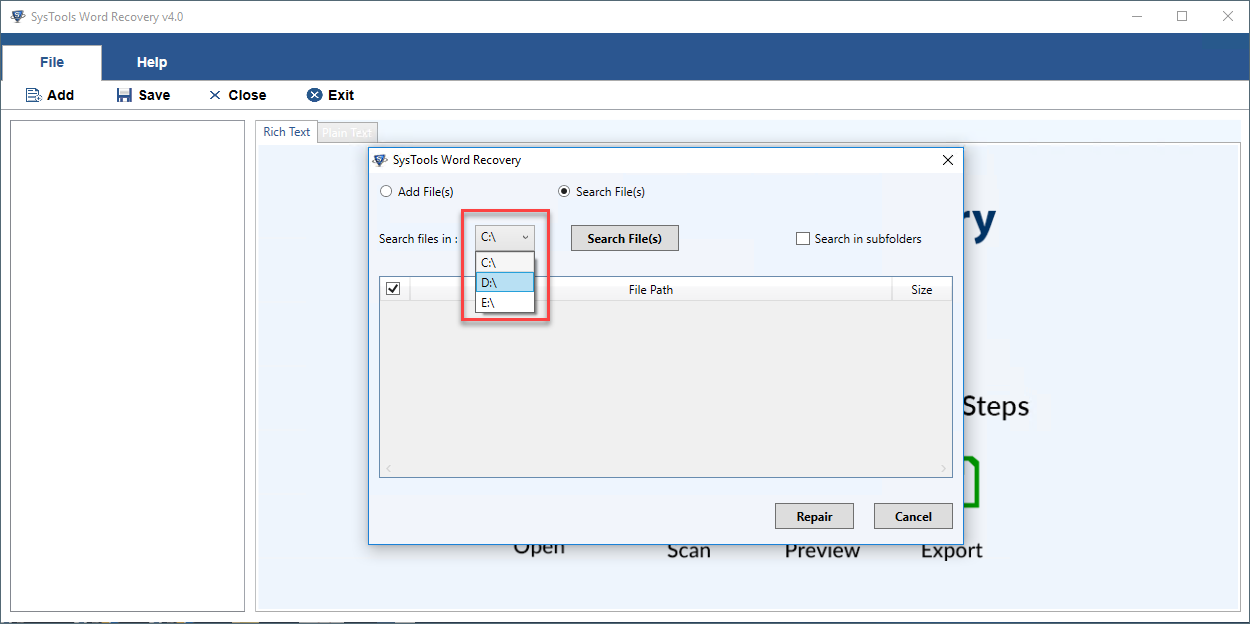
STEP 3
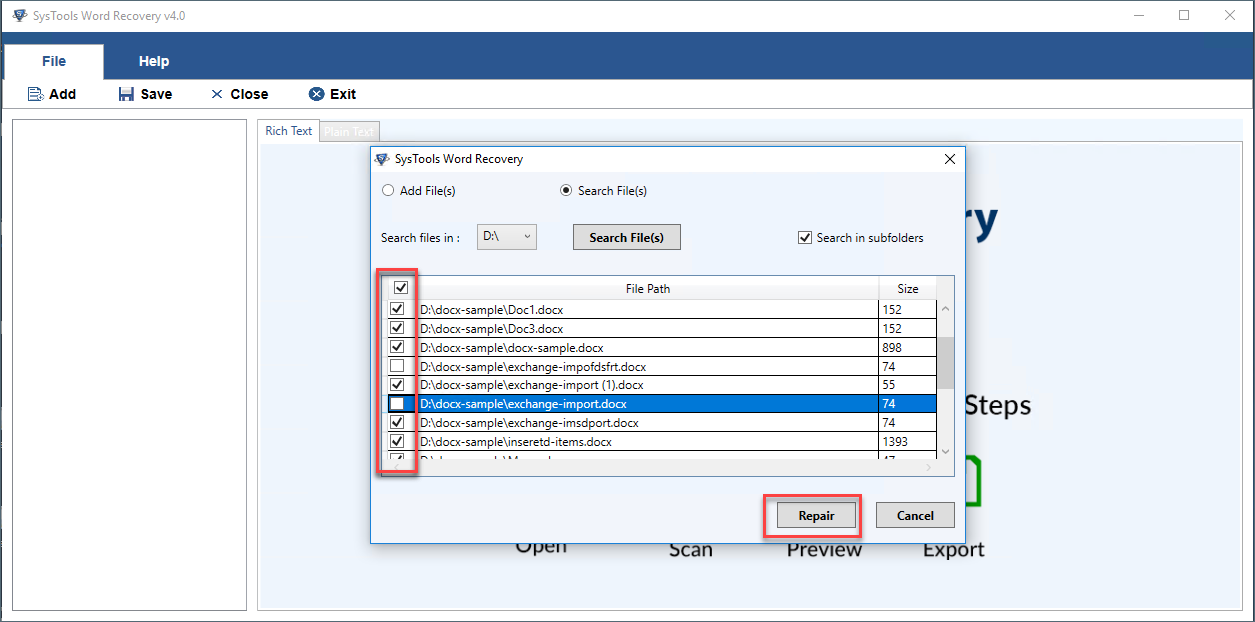
- Select “Search File(s)” in above check-box, then use the drop-down menu for choosing your required drive to browse the files. Then click to “Search File(s)” button to proceed further.
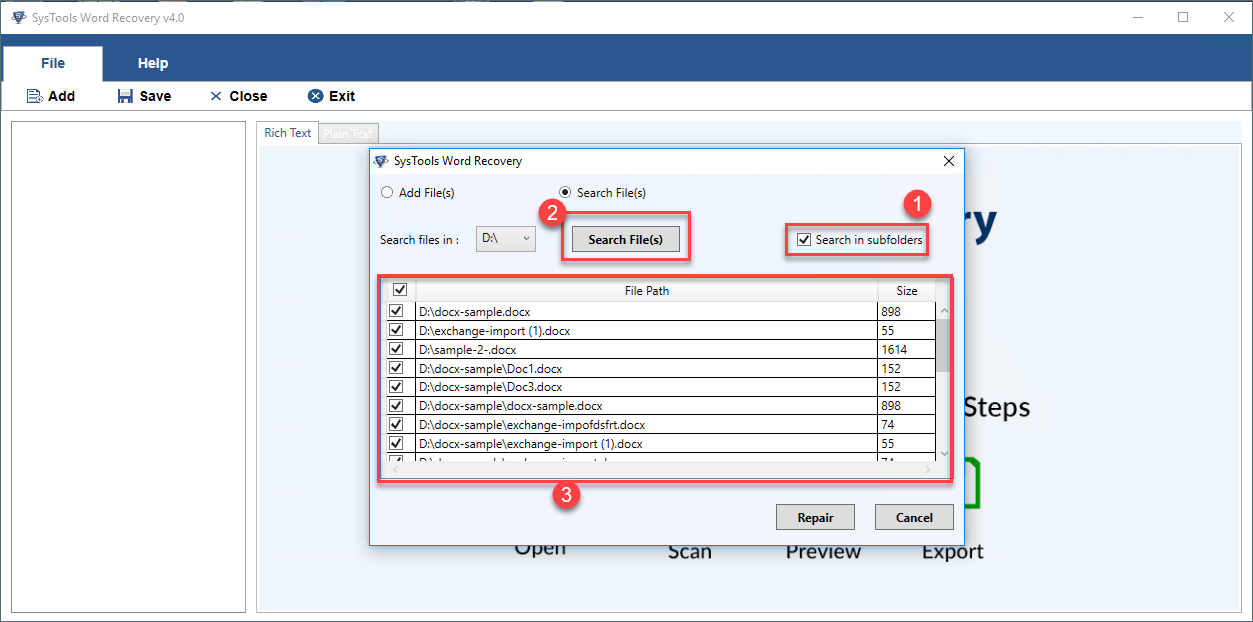
STEP 4
- Here the files are uploaded from your system. Tick the right check-box “Search in subfolders” to repair the files residing in the root folders.
Follow these actions to start repairing the DOCX Files.
- Tick the check-box “Search in Sub-folders”.
- Click to “Search File(s)” button.
- Tick the DOCX files you wanted to repair.
STEP 5
Tick the files to repair. Then hit the “Repair” button to start repairing the DOCX Files.
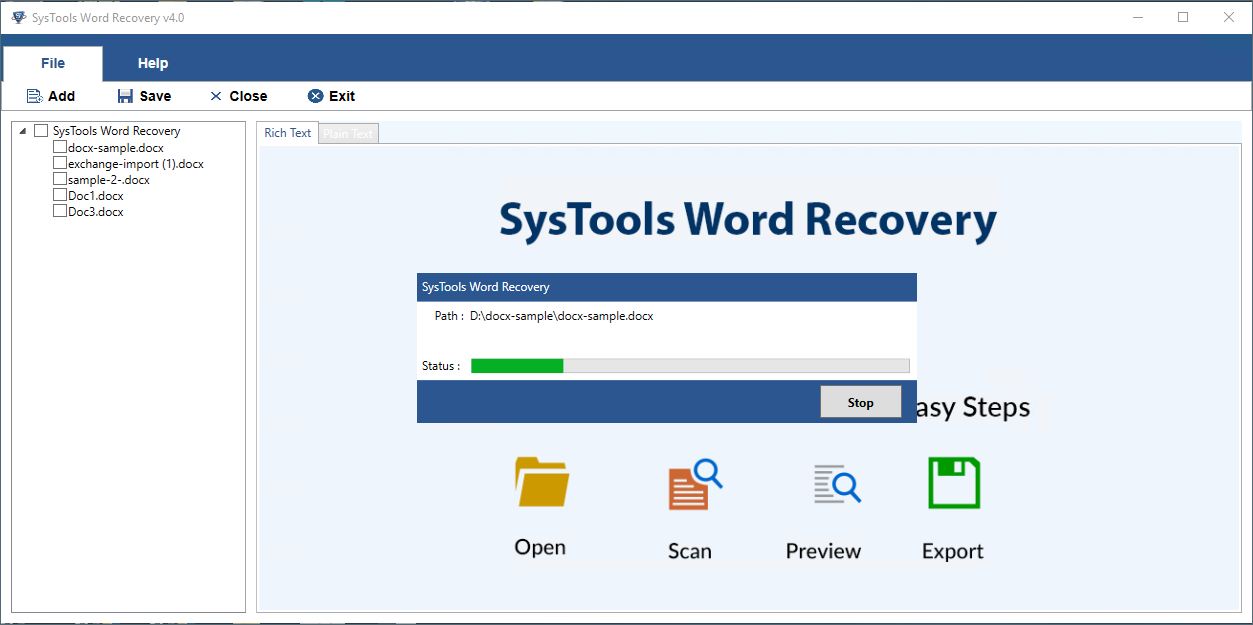
STEP 6
It starts processing and analyzing the DOCX Files for fixing the bugs.
Steps to Preview Repaired Word Files
STEP 7
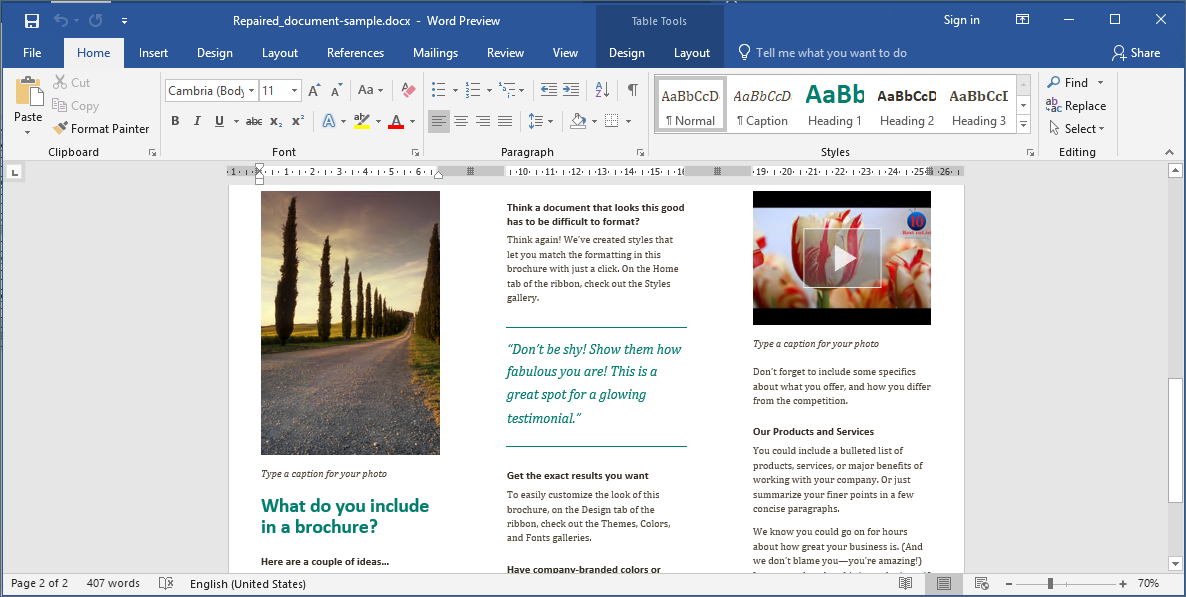
Click and view the added files in the left panel of this tool. Here, choose any recovered file you want to preview. Also, it gives two option for viewing the Word file: Rich Text and Plain Text.
Rich Text View: It views the text as well as added images. It’s a complete view.
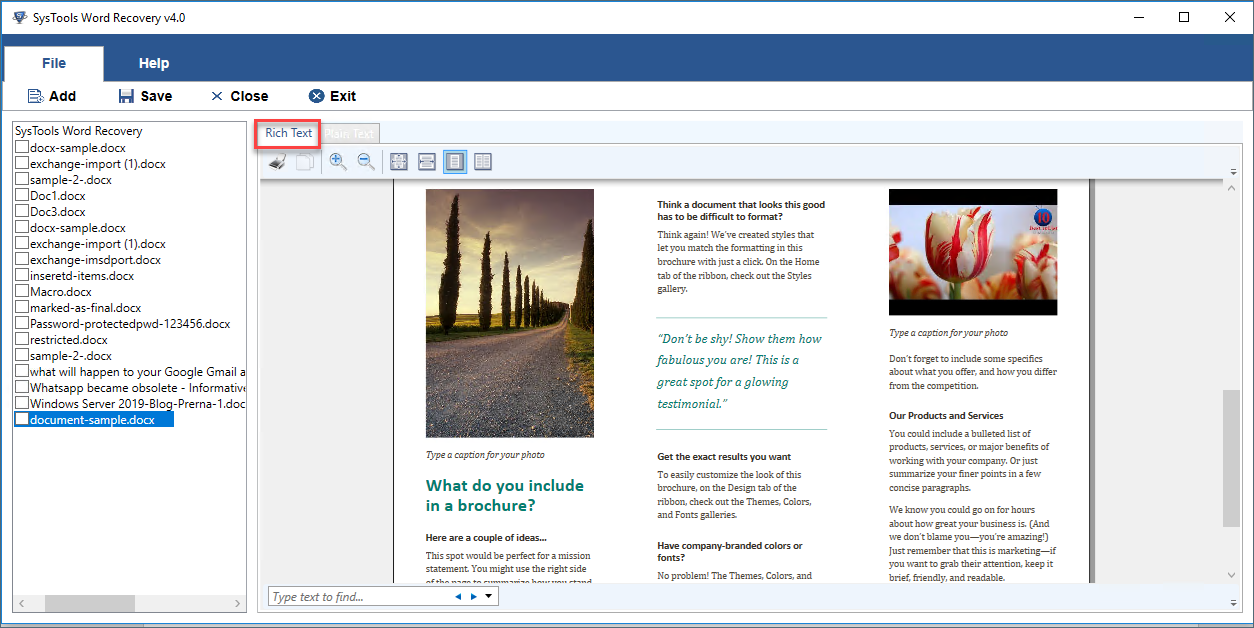
Plain Text View: It only views text.

STEP 8
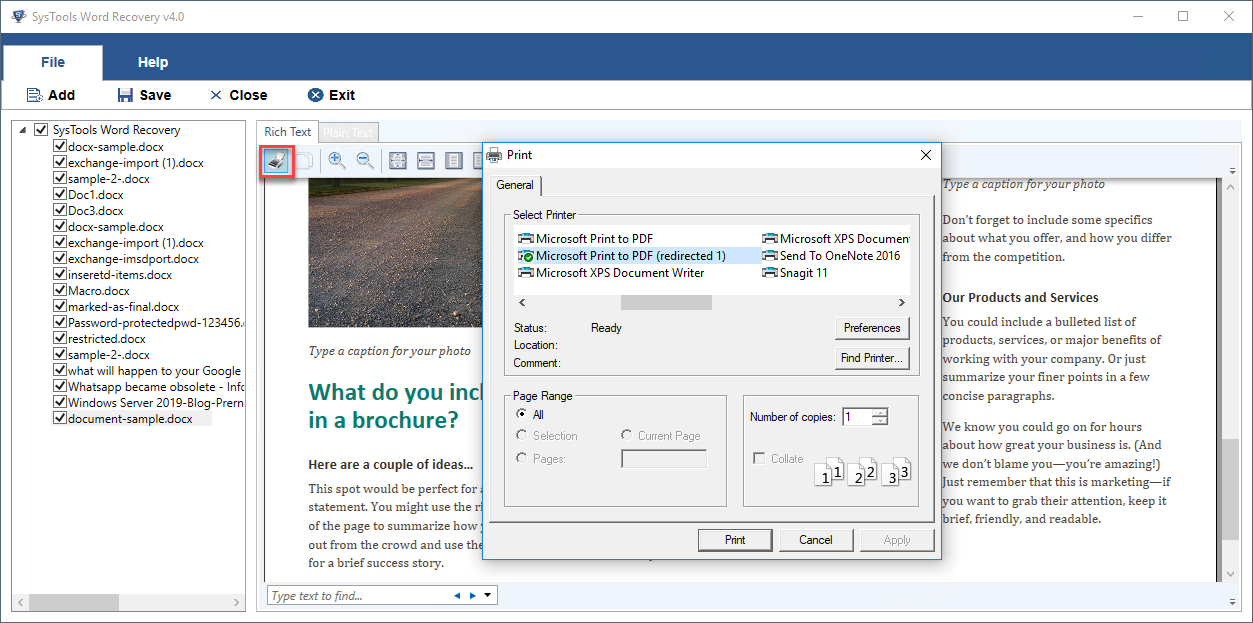
Here, there are multiple features which are provided by this tool to view your Word file exclusively. This panel below includes options such as Print, Copy, Zoom-in, Zoom-out, Page width and Two pages.

How to use the Print Option?
Click “print icon” then, adjust the settings according to your need. At last, hit “Print” .
For Copy
Select the text and click to “Copy icon”.

Zoom-in
Page width
Two pages
STEP 9
Another feature is added to this utility. To search any paragraph or any line in your recovered DOCX File. There is a Search-bar just below in the left panel. Type and find.
Saving the Retrieve Files
STEP 10
This allows users to save the files in your system.
- Select the existing files in your left-panel.
- Click the “Save” button.

STEP 11
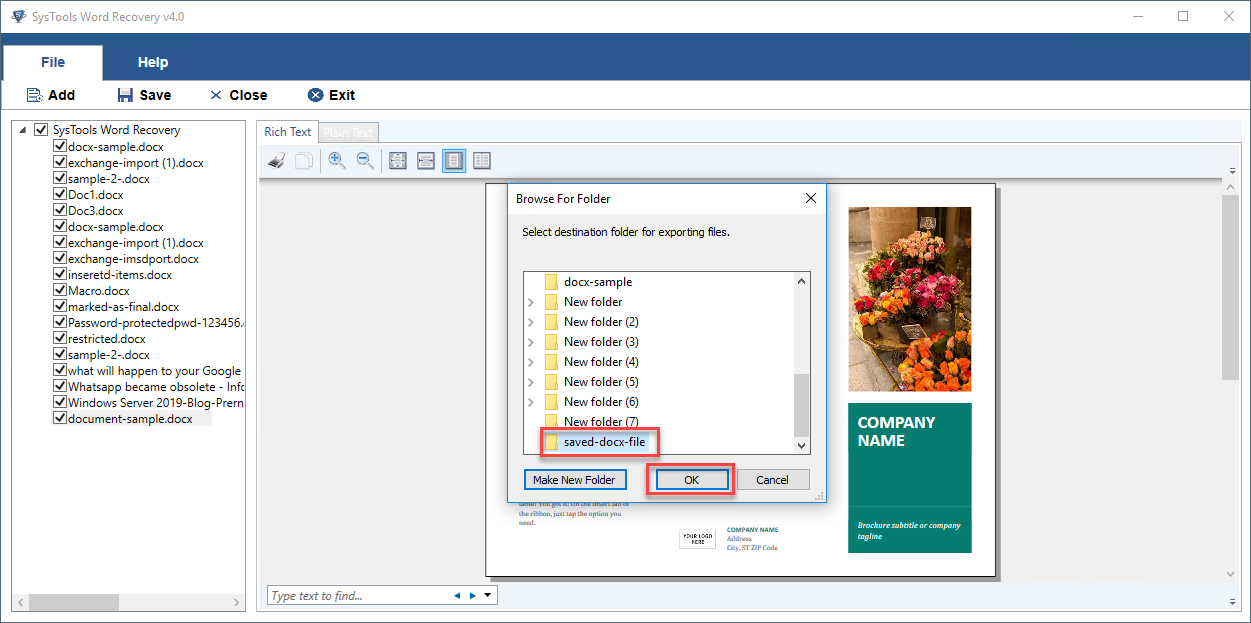
Choose the destination folder from the window displayed in front of you. Then hit to “OK” .
STEP 12
A messages window will pop-up, stating that files are saved successfully . Click “OK” .

STEP 13
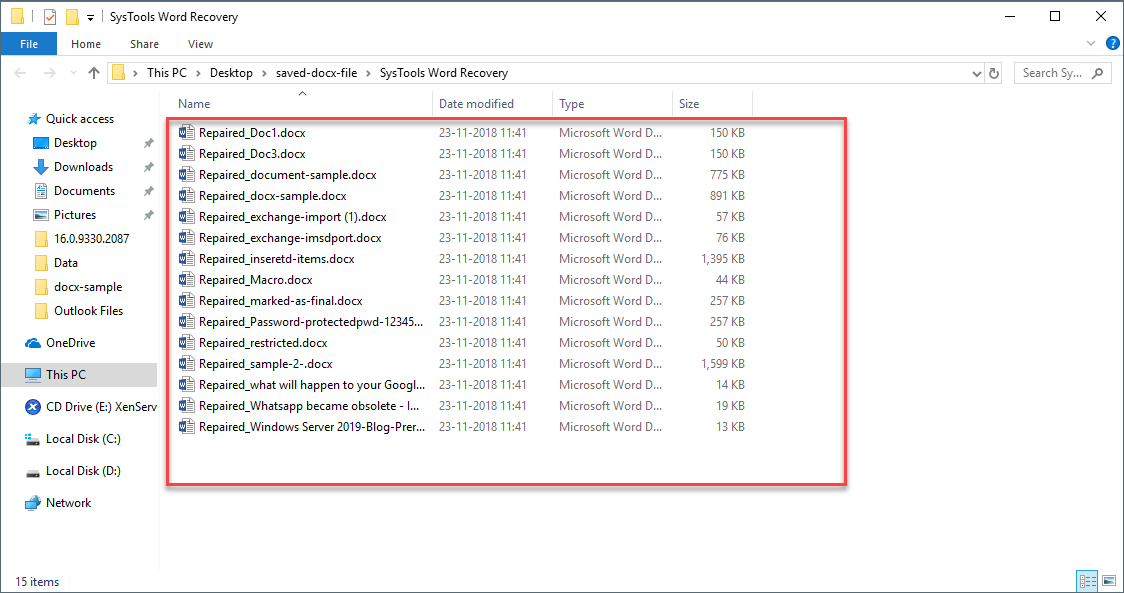
Now go to the folder location which contains the recovered Word files.
STEP 14
Here, you can open or view the recovered Word files in MS Word.